GitLab Community Edition at Jefferson Lab
The Jefferson Lab user Gitlab instance is available at
code.jlab.org/
GitLab CE is the free, and open-source edition of GitLab.
Interactive Login Procedure
GitLab uses a federated login. Once on the landing page, select "Sign In" followed by "Login with your institution Credentials" button.
You will land in following page:
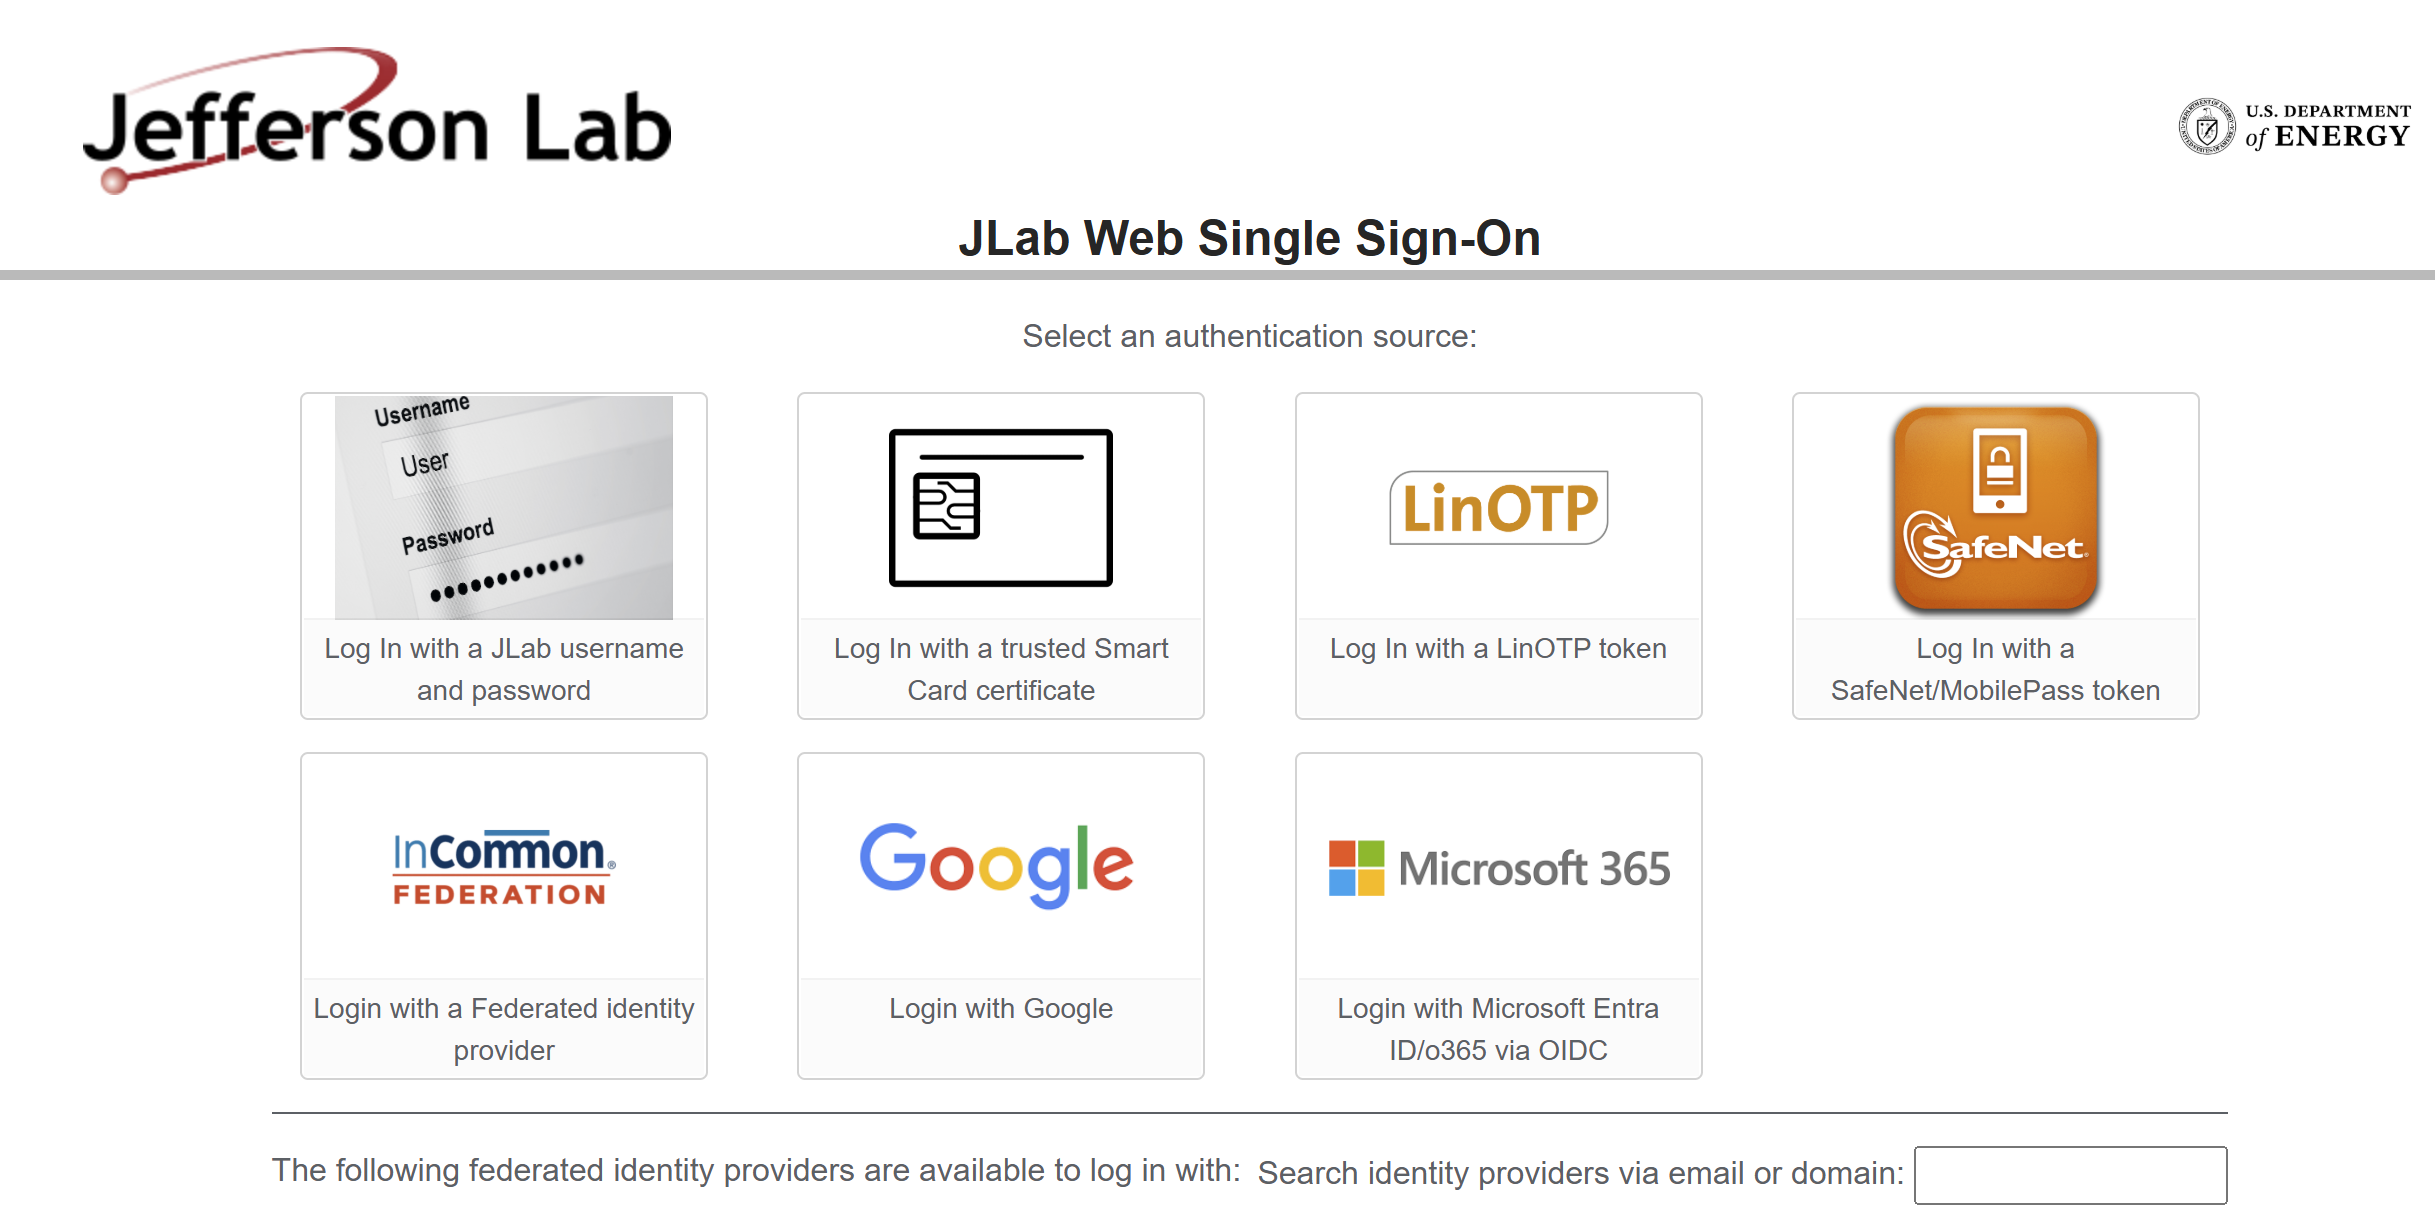
The default permission and resource level depends which authentication method you choose on your first login.
-
JLab CUE Authentication (Everyone with an @jlab.org account should do this!)
a. You will be automatically granted access to a number of Hall, Experiment, and/or Division GitLab groups based on your CUE unix group assignments.
b. You will be automatically granted space to create and manage personal repositories.
c. @jlab.org account holders are assigned additional privileges based on what JLab unix groups they are in when their GitLab account is initially created.
Additional permissions can be granted by emailing their Compute Coordinator and explaining what they would like to do. -
External/Federated Authentication
a. You will only have read only access to open/public projects.
b. For anything else, someone would need to grant you privileges to the repositories. Please talk to your Compute Coordinator.
Note
- Dormant accounts will be deactivated after 1 year. They can be reactivated upon request.
- You can search for public repos and/or internal groups (that you are part of) using
code.jlab.org/explore/groups
Create/Import Projects
Creating a New Project
To create a new project:
-
Click on the "+" icon in the top navigation bar.
-
Select "New project/repository".
-
Choose "Create blank project" or select a template.
-
Fill in the project details:
-
Project name
-
Project URL: This determines where your project will be located in GitLab's structure.
- Personal namespace: Projects created here will have a URL like
https://code.jlab.org/username/project-name - Group namespace: If you're part of a group, you can create projects within that group. The URL will be
https://code.jlab.org/group-name/project-name - Subgroup namespace: For more complex organizations, you can use subgroups. The URL structure would be
https://code.jlab.org/parent-group/subgroup/project-name
- Personal namespace: Projects created here will have a URL like
-
Project slug (URL): This is a URL-friendly version of your project name, automatically generated from the project name but can be customized. It will be used in the project's URL and should be unique within the namespace.
-
Visibility level: This can be changed later as well using
Project settings -> General (Visibility, project features, permissions) -> Project visibility- Public: Anyone can access (useful for open-source projects)
- Internal: Any authenticated user can access
- Private: Only project members can access
-
Note Use of the
git://git@code.jlab.org/...URL for access to restricted repositories is recommended.
See Restricted repo access for additional detail.
- Click "Create project".
Tips for choosing the right namespace:
- Personal projects are great for individual work or experiments.
- Group projects are ideal for team collaborations or department-wide projects.
- Consider your project's scope and who needs access when deciding on the namespace.
- You can transfer projects between namespaces later if needed, but it's best to start in the right place.
Importing an Existing Project
- Click on the "+" icon in the top navigation bar.
- Select "New project/repository".
- Choose "Import project".
- Select the source of your project (e.g., GitHub, Bitbucket, repository URL and more).
Let's focus on importing from GitHub.
Importing from GitHub
To import a project from GitHub, you'll need to authenticate using a personal access token (PAT).
Using a Personal Access Token, first generate a GitHub personal access token:
- Go to https://github.com/settings/tokens
- Click "Generate new token (classic)"
- Give your token a descriptive name
- Select the following scopes:
repo(Full control of private repositories)read:org(Read org and team membership, read org projects) (required if importing from organizational repositories)
- Click "Generate token"
- Copy the generated token (you won't be able to see it again)
- Paste your GitHub personal access token
- Upon clicking
Authenticateyour GitHub repositories will be listed. - Select the repositories you want to import
- For each repository:
- You Can Change the target namespace (where it will be imported in GitLab)
- You Can Change the target repository name
- Visibility will follow the rules set in the original repository
- Click "Import" to start the import process.
Tips for a smooth import:
- Ensure your GitHub email address matches your GitLab email for proper author attribution
- Large repositories may take some time to import
- You can check the import status on the project page after starting the import
After the import is complete, you'll have a fully functional GitLab project with your GitHub repository's history, branches, and tags. Issues, pull requests, and wiki pages will also be imported if you selected those options.
For additional details and up-to-date instructions, follow the official GitLab CE import documentation.
JLab GitLab Limits
Most settings in the JLab GitLab instance follow upstream defaults. See GitLab’s official documentation for baseline behavior:
- Account and limit settings
- Instance limits
- CI/CD limits
- Number of files per Pages Website
- Package registry limits
Runner resource defaults
JLab GitLab Runners currently use the following defaults:
| Resource | Default | Maximum |
|---|---|---|
| Memory | 10 GiB | 32 GiB |
| CPU | 8 threads | 16 threads |
You can request different resources in .gitlab-ci.yml using:
KUBERNETES_MEMORY_LIMIT, KUBERNETES_CPU_*
Larger resource requests may increase scheduling time.
Resource detection inside jobs
Standard system introspection tools do not report usable values inside runner jobs. This includes:
$(nproc)/procor/sys- typical user-space hardware utilities
Instead, use the runner-provided environment variables:
JL_RUNNER_AVAIL_CPU— threads assigned to the runnerJL_RUNNER_AVAIL_MEM— available memory in bytes
These values reflect the actual limits enforced for your job.